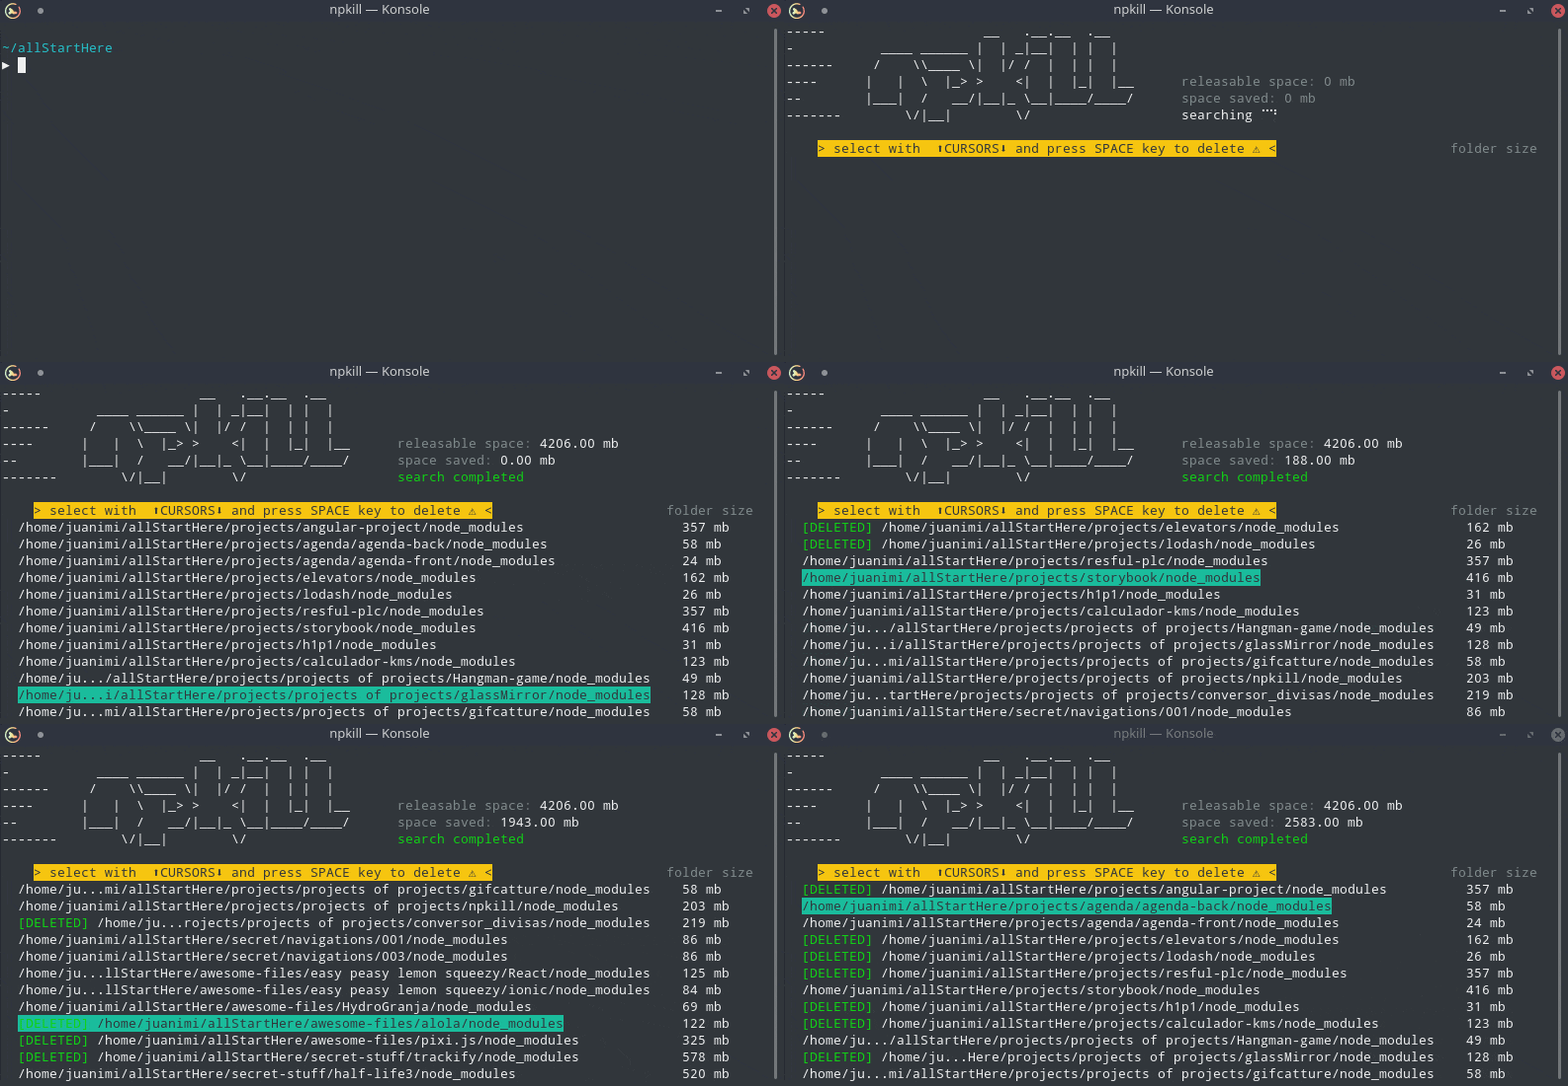
It is true, a Javascript developer’s HDD can often get mysteriously full. Maintaining a tidy and organized development environment is crucial for efficient coding and project management. As your projects evolve, and everytime you run npm install, dependencies accumulate, and it’s easy to end up with unused packages that clutter your project directory and inflate its size. This is where two solutions, namely a BASH command and the “npkill” package come to the rescue. I will try to elaborate on both of them here, BASH and npkill, and demonstrate how they can simplify the process of cleaning up unused Node.js packages.
While tools like npkill offer a user-friendly and interactive way to clean up unused Node.js packages, there’s also a powerful bash command that can help you achieve a similar goal directly from your command line. This approach is particularly useful if you prefer a quick and scriptable solution to remove all node_modules folders within your project’s directory and its subdirectories. Before we dive in, just a word of caution here: use this command carefully, as it involves removing data permanently from your system.
The Bash Command
To recursively remove all node_modules folders inside the current directory and its subdirectories, you can use the following bash command:
find . -name "node_modules" -type d -prune -exec rm -rf '{}' +Here’s a breakdown of how the above line works:
find .: Initiates a search starting from the current directory (.) and its subdirectories.-name "node_modules": Specifies the search for directories namednode_modules.-type d: Filters the search to include only directories.-prune: Preventsfindfrom entering matched directories, focusing only on the top-levelnode_modulesfolders.-exec rm -rf '{}' +: Executes therm -rfcommand on the matchednode_modulesdirectories. The{}is a placeholder for the matched directories, and the+at the end allows multiple directories to be passed to a singlermcommand.
Caution and Considerations
It is very important to exercise caution when using commands that involve data deletion, like rm -rf. Before executing the command, make sure you are in the correct directory and that you fully understand the potential consequences. This method can help you free up disk space by removing unused dependencies, but it’s of course always recommended to have a backup of your project or important data before performing such actions.
Choosing the Right Approach
Both the npkill package and the bash command provide effective ways to clean up your projects. The choice between them depends on your preference for an interactive tool or a quick scriptable solution. Whichever approach you choose, maintaining a tidy and organized project directory will contribute to a more efficient and productive development workflow.
In what comes next, I will touch upon the features and benefits of using the npkill package to streamline your Node.js project cleanup process.
What is npkill?

npkill is a handy command-line tool designed specifically for Node.js developers to help them identify and remove unused packages from their projects. It provides a simple and efficient way to free up valuable disk space and streamline your development environment. With just a few commands, you can regain control over your project’s dependencies and maintain a leaner, more manageable codebase.
Key Features:
- Interactive Interface: Npkill offers an interactive and intuitive user interface that lists all the packages in your project directory, along with their sizes. This visual representation helps you make informed decisions about which packages to remove.
- Size Insights: Apart from listing the packages, npkill also displays the size of each package, allowing you to identify large or unnecessary dependencies that might be contributing to bloat.
- Sorting Options: You can sort the package list by size or name, making it easier to identify the most significant contributors to your project’s size.
- Simple Removal: Once you’ve identified the packages you want to remove, npkill makes the removal process as simple as typing a single command. You can remove individual packages or multiple packages at once.
Getting Started with npkill:
Using npkill is straightforward. Here’s a quick guide to getting started:
- Install npkill globally using npm:
npm install -g npkill- Navigate to your project directory in the terminal.
- Run npkill:
npkillAlternatively, you could use npx to run it more swiftly: npx npkill
- Follow the on-screen prompts to select and remove the packages you no longer need.
Managing your project’s dependencies is a vital aspect of maintaining a healthy and efficient codebase. The npkill package simplifies this process by providing an interactive interface to identify and remove unused packages, helping you keep your project directory clean and organized. By incorporating npkill into your workflow, you can streamline your development environment, improve project maintainability, and free up valuable disk space.